How to Connect Brother Printer to Mac: Discover Top 3 Ways!
Are you wondering about connecting your brother printer to a computer? Then, this blog might be the right place for you. I am a printer expert, and I spend many hours fixing common printer errors. In the beginning, I was not so good at it, but as I worked, I became an expert. This is why I create content and blogs related to printer setup and connection. Today, I’m going to discuss how to connect Brother printer to Mac.
Well, there is no specific way of
connecting a brother printer to a Mac computer or any other device. Thus,
you’ll have to see different methods and then decide which one works for you.
Let’s get started with this guide and learn the process closely.
Method 1: Using CD-ROM
When you purchase a printer, you get a
CD-ROM in the box. This CD is given to setup your printer. Check out the steps
below to learn how to connect Brother
printer to Mac in simple ways. Let’s look at the steps.
- In the
beginning, plug your printer into a power cable and turn it ON.
- Then, get
a CD ROM and insert it directly into your CD drive.
- After
that, you’ll get the on-screen instructions to install the necessary
printer drivers.
- Now,
choose your printer and continue with the on-screen process.
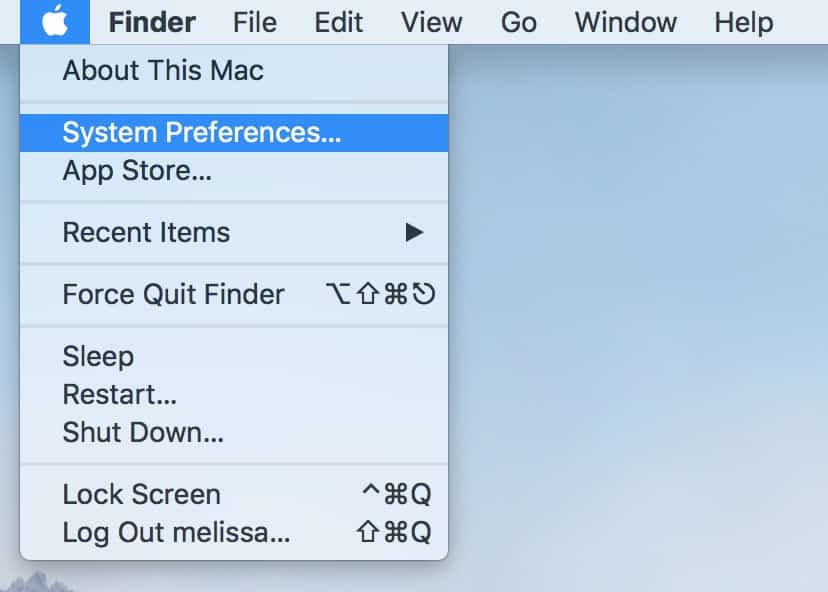
- Next,
head to the Apple menu and hit
the System Preferences option.

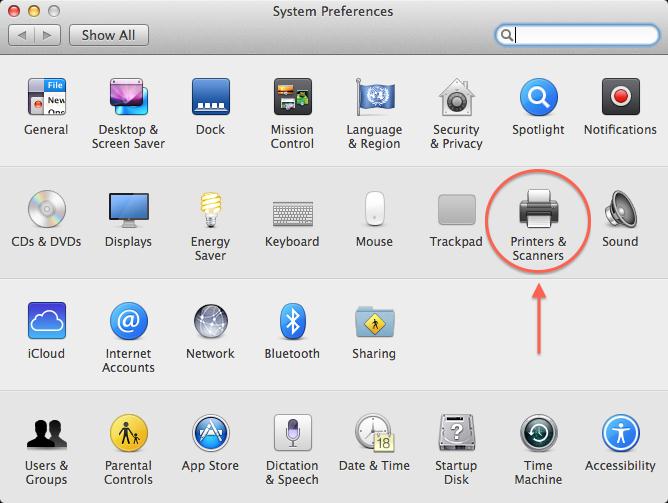
- Thereafter,
click on the Printers &
Scanners and then click on the Add
button.

- Finally,
your brother printing device will connect to your Mac system.
That’s
how to connect Brother printer to Mac with a CD. Let’s look into the other
methods to learn the connection easily.
Method 2: With a USB Cable
A USB connection is best to connect
printers to a device such as a Mac system. If your devices have an USB port,
you can use this connection method. Let’s check the steps closely.
- Gather up
a USB cable and connect one end to your printer and the other end to your
Mac.
- Then,
turn on your brother printer and Mac operating system.
- After
that, navigate to the System
Preferences on your computer.
- Now, go
to the Printers & Scanners
option.

- Then,
pick your printer from the Printers
option.
That’s
how to connect Brother printer to Mac with cable. Now, let’s check the
final method to connect your printer to your Mac.
Method 3: Through a Wi-Fi Network
In this step, you will learn how to connect a brother printer to Mac
using Wi-Fi. So, quickly check out the steps below.
- To start,
check if your Wi-Fi router has a WPS
push button.
- Then,
install your Wi-Fi router and printer nearby to each other to setup an
easy connection.
- After
that, hit the WPS button on
your Wi-Fi router.
- Now,
press and hold your Wi-Fi
button for at least five seconds on the printer.
- Next,
you’ll find the Wi-Fi indicator flashing a blue light.
- Once you
finish your connection, turn on your Mac system.
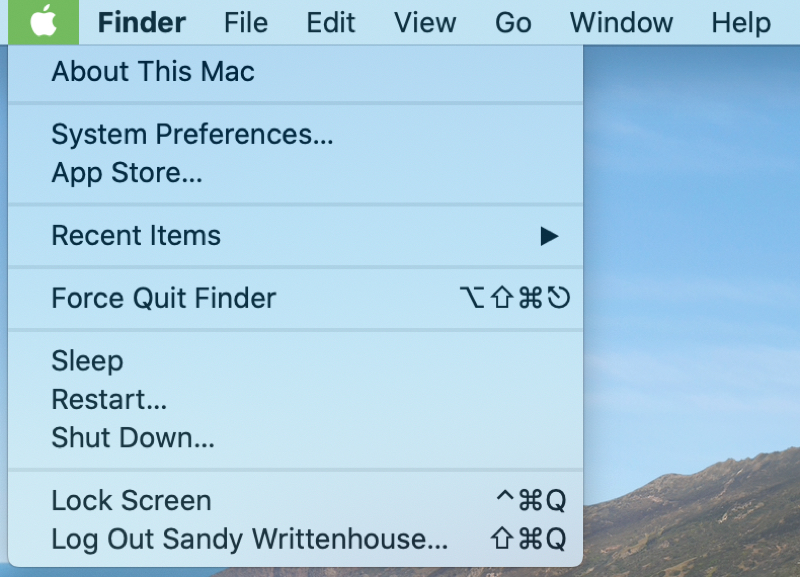
- On the
following screen, head to the Apple
menu and choose System
Preferences.

- Also,
click on the “+” option and
select the Add button.
- In the
next step, allow your Mac system to detect nearby devices.
This is how to connect Brother printer to Mac wirelessly. Now, you’re ready
to print your important documents.
Download & Install Brother Printer Drivers
It is essential to download and install
printer drivers on your system in order to use your printer to get prints.
Without printer drivers, your computer and printer won’t understand your
command. When you are setting up your printer, you need to take care of the
printer drivers.
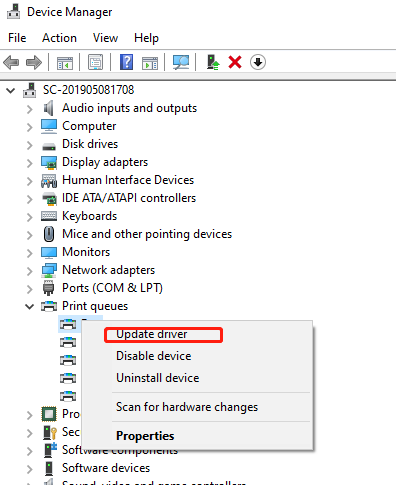
- On your
computer, locate the Device Manager
option and open it.

- On the
following screen, select the Printers/Print
Queues to locate the printer.
- Now,
right-click on the printer and choose the Update driver option from the menu.

- After
that, search your printer drivers automatically. You’ll see an option to Search automatically for updated
drivers.

- After
completing all the steps mentioned above, you need to restart your PC.
This is how you’ll download and install the
brother printer drivers on your computer. Once you get the printer drivers,
you’ll be ready to take prints.
FAQs
Why Is My Brother Printer Unable to Connect to Mac?
If your printer is unable to connect to
your Mac, there can be many reasons for this. Check the reasons below.
●
Maybe your printer is not
turned on properly.
●
Make sure that your printer and
Mac system are connected to the same network.
●
It may happen when you haven’t
installed the required printer drivers on your Mac.
How to Connect My Brother Printer to iPhone?
To connect your brother printing device to
an iPhone, use these steps.
- In the
first step, open the settings
on your iPhone.
- Then,
enable the Bluetooth option on
your iPhone.
- After
that, expand the option list.
- Now,
select the Printer from the iOS
settings.
- Next,
provide the printer’s name and click on the No printer selected option.
- Finally,
your devices are connected.
How to Connect Brother Printer to a MacBook?
To connect your printer to a MacBook, use
these steps.
- In the
first step, head to the Printers
and Scanners option.
- Now, hit
the “+” icon to get the
printer’s list.
- After
that, choose your printer from the list.
- Also,
make sure that you choose the CUPS driver in the Use or Print Using
list.
- And then
click on the Add button.
- Lastly,
hit Apple and click on the Quit System Preferences option.


Comments
Post a Comment