How to Add Brother Printer to Mac: Top 3 Methods
Adding a brother printer to any device, such as Windows and Mac, can be intimidating at first. I also went there when I started working with my brother printer. Since then, I have learned the process well, and here I’m writing this blog for all of you. Also, let me tell you that I’m a printer expert who has resolved many printer-related issues in the past few years. Through this blog, I will educate you about this printer and teach you how to add Brother printer to Mac.
I have also written
content related to adding a brother printer to your windows computer. When I
observed that Mactonish was struggling with its printer connection, I decided
to write an informational blog related to this. Without further ado, let’s get
forward with the printer connection.
Method 1: Connect a
Brother Printer to Mac Using a CD-ROM
You might have
received a CD-ROM while unboxing your brother printing device. You can use this
CD to get the necessary printer drivers. Here, I’m mentioning the steps below
to add your printer to Mac.
- In the beginning, turn on your printer and connect
it to the power supply.
- After that, insert your CD into the CD drive.
- Next, continue with the on-screen directions to
install printer drivers on a Mac system.
- Now, choose your printer model and install your
paper port.
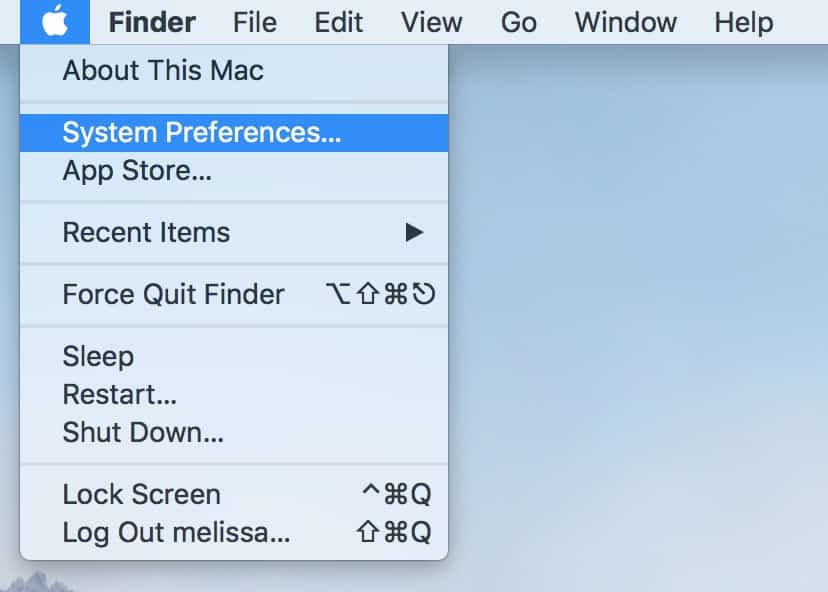
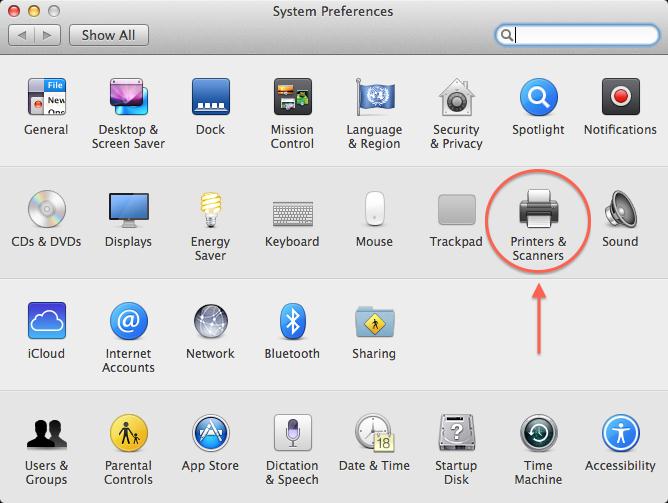
- Once you install the paper port, head to the System Preferences under the Apple menu.

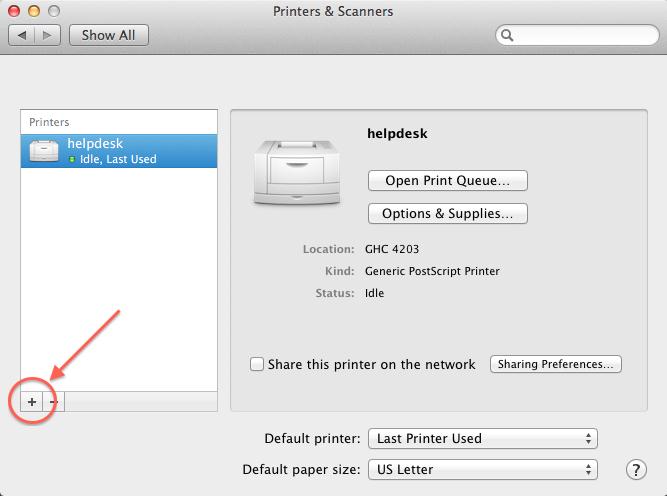
- Then, click on the Printers & Scanners option and click on the Add button.
- Also, choose your printer and hit the Add button.
- Finally, your printer is connected to your Mac.
That’s how to add Brother printer to Mac using
a CD-ROM. Once you connect your printer to your Mac, you’re ready to continue
with printing your documents.
Method 2: Pair Your
Brother Printer to Mac with a USB Cable
A USB connection is a
primary method of connection. If you are looking for an easy and convenient way
to connect your printer to a Mac, go with this connection method. Let’s check
the steps below.
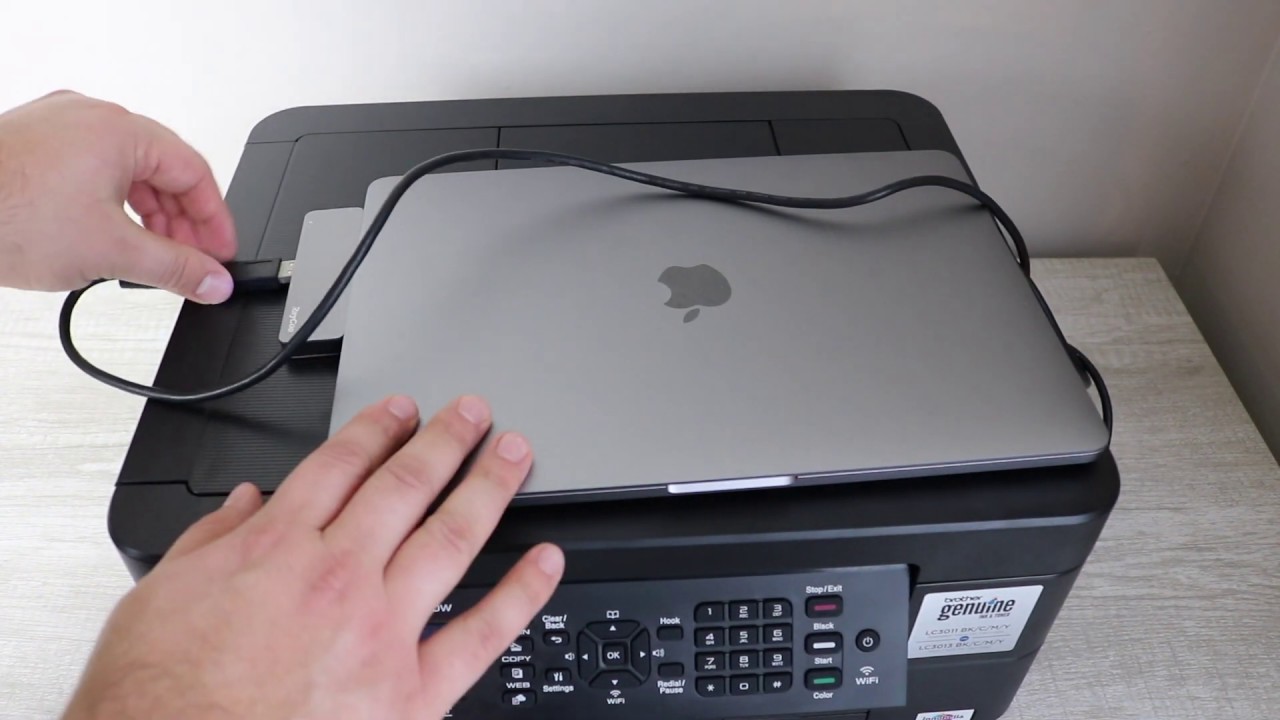
- To start, take your USB cable and connect one end to
the printer and another end to your Mac’s USB port.

- Now, enable your brother printing device and Mac
system.
- Turn on both of your devices, and your Mac will
begin the setup process.
- Then, verify the installation process by heading to System Preferences.
- Moving forward, move to the Printers & Scanners option.

- At last, check your brother printer device under the Printers option.
That’s how to add Brother printer to Mac using
a wired connection. Now, you can use this connection to take prints.
Method 3: Add the Brother
Printer to Mac via Wi-Fi
This is one of the
preferred ways to wirelessly add your brother printer to your Mac. However,
before you start learning how to connect
Brother printer to Mac wirelessly, make sure that you download printer
drivers to your system. Once you do that, you’re ready to connect your devices
together. Let’s see how.
- Initially, ensure that your Wi-Fi router has a WPS push button.
- Now, install your Wi-Fi router and printer in a
range to connect them easily.
- After that, push the WPS button on your Wi-Fi router.
- Next, press and hold your Wi-Fi button for 5 seconds on the printer.
- Then, you’ll see your printer’s light turning blue.
- In the following step, head to the System Preferences option under
the Apple menu.

- Moving forward, tap on the Printers and Scanners option.
- Now, hit the +
sign to add a brand-new Brother printer.

- In the next step, your Mac system will start
detecting the nearby printer devices.
- Select your brother printing device once you locate
it.
This is how to add Brother printer to Mac and
start printing your necessary documents from anywhere, anytime.
Conclusion
Summing up all the
connection methods, I can say that connecting a brother printer to a Mac is an
easy process. You can continue using any connection method, whether USB or
Wi-Fi. Note that while adding your printer to any device, always download and
install the necessary printer drivers. Without installing the printer drivers,
you won’t be able to print through your printer. Overall, all the methods will
work best for your printer, and you’ll enjoy printing with your printer.
FAQs
What Should I Do if My Brother Printer Is Unable to Connect to a
Mac?
If you find your
printer unable to connect to a Mac, you can do many things to fix it. The first
and foremost step is to check if your printer is ON and connected to a wireless
network. Also, ensure that your Mac computer is on the same wireless network as
your printer. Once you check these two things, your issue may be fixed.
How to Install Brother Printer Drivers?
Follow the quick and
easy steps below to install printer drivers:
- Navigate to Brother’s official website at Setup.brother.com.
- Then, find the Drivers
and Downloads option.
- Now, find your printer model in the search bar.
- After that, you’ll see a list of available printer
drivers on the screen.
- Next, download the most suitable package for your
printer.
- Lastly, continue with installing the driver file.
Can I Install a Brother Printer Without a CD?
Yes, you can. If your
printer doesn’t come with a CD, you can rely on Brother’s official website - Setup.brother.com. You will get the
most recent version of printer drivers on Brother’s official website. This step
is crucial to setup your printer on any device, such as a desktop computer or
laptop.
Visit - How to Add Brother Printer to Mac


Comments
Post a Comment